

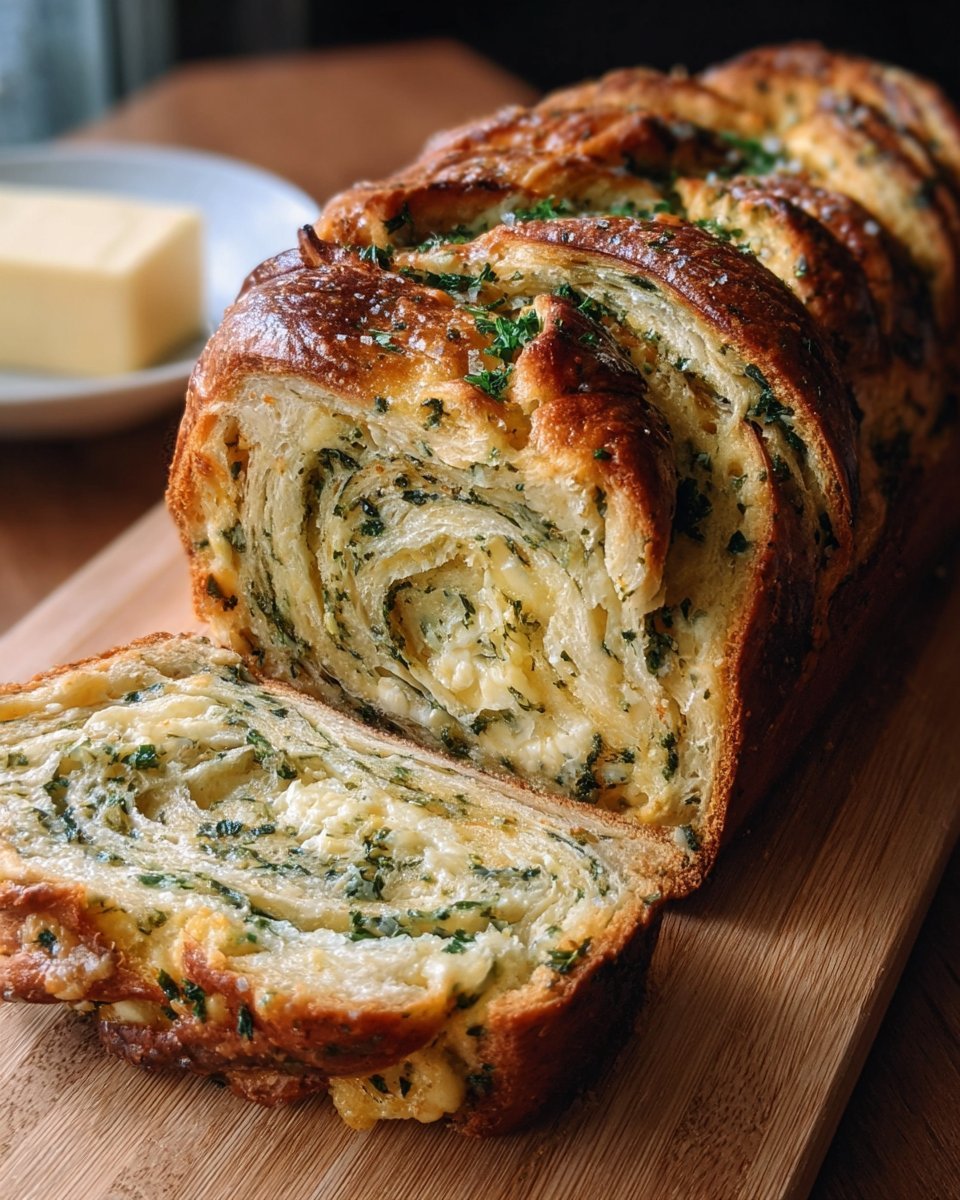
Swirled Garlic Herb and Cheese Bread: A Delicious Journey to Comfort
Ah, bread! Just the word brings back a flood of memories from my kitchen chaos days. Amongst the flour dust and the cluttered countertops, there was this one recipe that always brought me a bit of comfort — Swirled Garlic Herb and Cheese Bread. I stumbled upon this delightful bread-making journey years ago during a particularly moody evening. You know those nights when you just want to envelop yourself in something cozy and warm? That’s when I thought, “Why not? Let’s throw caution to the wind and give this a shot!”
The flour-coated counter was my trusty companion, and the aroma of garlic wafting through the air felt like a big hug. This recipe has all the hallmarks of easy weeknight dinners and healthy comfort food familiar to family. But if you’re like me and initially thought, “There’s no way I can make bread, I’ll burn down my kitchen,” let me tell you — you can!
This bread isn’t just food; it’s a memory-maker. Imagining it bubbling in the oven and the smell spreading through my little home, turning it into a cozy bakery, was enough to motivate this baking adventure. The oozing cheese, savory herbs, and aromatic garlic — if I had to describe it, I’d say it feels like a big, comforting hug.
So, grab your apron, because I’m here to guide you through each step, with some oops moments and chaotic kitchen stories sprinkled throughout. Let’s dive right in!
Why You’ll Love This Recipe
- Simplicity: This bread requires simple ingredients and comes together easily, perfect for quick family meals.
- Flexibility: Enjoy it fresh out of the oven, or use leftovers for budget-friendly recipes and delightful sandwiches.
- Picky-Eater Approved: The cheesy, garlicky goodness makes it a hit even among the fussiest eaters.
- Make Ahead: Easily prepped on a Sunday for the week, making it an effortless addition to your healthy meal plans for two.
- Pairs with Everything: Whether you’re serving it alongside a soup or enjoying it solo, it’s versatile and comforting.
- Comfort Food Vibes: Honestly, it’s the kind of bread that feels like home.
Let’s face it: who doesn’t want to whip up memories wrapped in deliciousness?
What Makes This Recipe Special?
The secret lies in the combination of flavors that makes each bite absolutely heavenly. The sharpness of the garlic melds beautifully with fresh herbs — think parsley, basil, and thyme — while the stretchiness of the cheese elevates everything. It’s a culinary masterpiece that’s surprisingly easy to create with just easy high protein high calorie meals in mind.
As I knead the dough, I can’t help but chuckle at how messy I get — flour everywhere, and a bit on my nose if I’m not careful. Let’s not even talk about the time I forgot to add water and ended up with a flour mound that looked like a Pinterest fail. But hey, kitchen disasters make the best stories!
Now, let’s dive into the real meat of this recipe — the ingredients!
Ingredients
To create this fluffy, cheesy marvel, you’ll need the following:
- 3 cups all-purpose flour: Essential for structure and chewiness. Pro tip: I often use unbleached flour for a more rustic flavor.
- 1 packet (2 1/4 tsp) instant yeast: A miracle worker that kicks things into gear without needing to proof it separately.
- 1 tsp salt: Balances the flavors and helps strengthen the dough.
- 1 cup warm water: Helps activate the yeast; I like it cozy and not scalding.
- 2 tbsp olive oil: For richness and flavor; the higher the quality, the better the taste!
- 4 cloves garlic, minced: Because more garlic is never a bad idea!
- 1/4 cup fresh herbs (parsley, basil, thyme): These give the bread a refreshing aroma; fresh is always best!
- 1 cup shredded cheese (mozzarella or cheddar): The ultimate melty goodness; honestly, I prefer mozzarella for that stretchy effect.
Oops! Here’s a little warning: don’t skimp on the garlic or cheese. The more, the better. However, be cautious if you’re going easy on calories – this recipe leans towards the indulgent side of high macro meals.
How to Make It Step-by-Step
Now that we have our ingredients laid out, let’s get to the fun part — the actual making of this beautiful bread!
Step 1: Combine the Dry Ingredients
In a bowl, mix 3 cups all-purpose flour, 1 packet of instant yeast, and 1 tsp salt. I love feeling the flour between my fingers; it’s like a soft, white cloud just waiting for magic to happen.
Step 2: Add Water and Olive Oil
Pour in 1 cup of warm water and 2 tbsp of olive oil into the dry mix. You can stir it gently with a spatula or a wooden spoon until a shaggy dough forms. To be real? This stage feels kind of awkward, but it’s all part of the ride.
Step 3: Knead, Knead, Knead
Here’s where the real workout begins — kneading! Turn that shaggy mess out onto a floured surface and knead for about 10 minutes. You’re looking for a dough that’s smooth and elastic. It should feel kind of like a baby’s bottom — soft but with a bit of resistance. (Who doesn’t love cooking analogies like that?)
Step 4: Let It Rise
Place the dough in a greased bowl, cover it with a slightly damp cloth, and let it rise in a warm area for about 1 hour. You want it to about double in size, which is always a mind-blowing transformation moment for me. If your kitchen feels like a refrigerator, hang out near the oven — it usually provides the perfect cozy spot.
Step 5: Punch It Down
Once the hour is up (and your kitchen smells like heaven), it’s time to punch down that dough. I sometimes feel a bit guilty, but honestly, it’s super satisfying. Turn the dough out on a floured surface and roll it out into a rectangle. Go gentle — we’re not trying to ruin this masterpiece!
Step 6: Spread the Good Stuff
Now comes the fun part. Spread 4 cloves of minced garlic, your fresh herbs, and 1 cup of shredded cheese evenly over the rolled-out dough. The smells are out of this world! Seriously, I get giddy at this point.
Step 7: Roll It Up
Gently roll the dough tightly, starting from one end. Pinch the edges to seal it up snugly like a burrito. It’s like wrapping up a little gift of cheesy joy!
Step 8: Rise Again
Place the rolled dough into a greased loaf pan and let it rise for another 30 minutes. This second rise is crucial; not only does it give your bread that lovely texture, but it also provides time to contemplate all the kitchen mishaps you’ve overcome to get here.
Step 9: Bake to Perfection
Time to bake! Preheat your oven to 375°F (190°C) and pop that loaf in for about 25–30 minutes. Open your oven door to peek, and you’re greeted with the golden brown beauty you’ve been waiting for.
Step 10: Cool and Devour
Let it cool a bit before slicing. You gotta let it rest! This gives those flavors a chance to mingle, and honestly? It makes slicing a whole lot easier. I’ve ruined a loaf or two in my eagerness to dive in, so you’re welcome for this handy tip.
Tips for Best Results
- Temperature Matters: If it’s too cold, your dough won’t rise properly. Be sure your kitchen is warm enough.
- Water Temperature: The water should be warm, not hot — think baby bath water. You don’t want to kill the yeast!
- Overstuffing: While it’s tempting to add more cheese and garlic, make sure you don’t overfill, or the dough won’t roll neatly.
- Let It Cool: After baking, let it cool before slicing to avoid a gooey mess.
Ingredient Substitutions & Variations
Feeling adventurous? Here are some ideas to shake things up:
- Herbs: Swap fresh herbs for dried if that’s what you have on hand, but use less. About a teaspoon.
- Cheese: Go bold with a stronger cheese, like goat or blue cheese, for an unexpected twist.
- Additions: Throw in some sun-dried tomatoes or olives for delicious Mediterranean vibes.
- Diet Modifications: Use whole wheat or gluten-free flour for health-conscious high protein meals.
Directions
- Combine 3 cups flour, yeast, and salt.
- Add 1 cup warm water and 2 tbsp olive oil. Mix until a dough forms.
- Knead for 10 minutes until smooth.
- Let rise for 1 hour in a warm place.
- Punch down and roll into a rectangle.
- Spread garlic, herbs, and cheese on the dough.
- Roll tightly and pinch edges to seal.
- Place in a greased loaf pan, rise for another 30 minutes.
- Bake at 375°F (190°C) for 25–30 minutes until golden brown.
- Cool before slicing and serving.
Best enjoyed with a good movie or a cozy book. This bread pairs well with a hearty soup or even a rich salad for a cozy dinner. Imagine curling up with a rom-com and a slice of this warm delight — perfection!
How to Store and Reheat Leftovers
If you’re lucky enough to have leftovers (I often don’t), store them in an airtight container at room temperature for a couple of days. If you want to bring back the original gooey goodness, reheat slices in the oven at 350°F (175°C) for about 5-10 minutes or in the microwave if you’re really in a hurry — but let’s be honest, nothing compares to oven toasting.
Make-Ahead and Freezer Tips
You can prepare the dough ahead and freeze it after the first rise. Shape it, wrap it tightly in plastic wrap, and freeze for up to three months. Thaw it in the fridge overnight, let it rise again, then bake as usual. A total lifesaver when you want a homemade touch on a busy weeknight!
Common Mistakes to Avoid
- Too Little Rising Time: If your dough hasn’t doubled, don’t bake it! You’ll end up with a dense loaf.
- Skipping The Punch Down: This step is crucial! It redistributes the yeast and leads to a better final structure.
- Overbaking: Keep an eye! If you walk away, you risk a loaf that’s more suited for a doorstop than a dinner table.
Frequently Asked Questions (FAQ)
Can I use active dry yeast instead of instant?
Absolutely! Just proof it in warm water first for about 10 minutes before adding it to your dry ingredients.
What if I don’t have fresh herbs?
Dried herbs work fine! Use about a third of the amount.
Can I make this vegan?
Sure! Substitute olive oil for vegan butter and use vegan cheese. No compromises on flavor here!
Cooking Tools You’ll Need
- Mixing Bowls: A set of various sizes for mixing and rising.
- Measuring Cups and Spoons: Precision is key!
- Rolling Pin: For rolling out dough smoothly.
- Loaf Pan: For baking, ceramic or metal works like a charm.
- Oven Mitts: Trust me, you’ll want these for handling your hot baked masterpiece.
Final Thoughts
Baking is such a personal journey. This Swirled Garlic Herb and Cheese Bread isn’t just a recipe; it’s a moment of joy, a slice of love served at the table. With every bite, I’m reminded of my early kitchen disasters and triumphs, and how those moments shaped my love for cooking.
I encourage you to try this out and make it your own. Feel free to experiment with flavors and create your own memories in the process. If you enjoyed this recipe, don’t forget to save it on Pinterest or share it with a friend! Happy baking, my fellow kitchen adventurers!

Swirled Garlic Herb and Cheese Bread
Ingredients
Bread Base Ingredients
- 3 cups all-purpose flour Pro tip: use unbleached flour for a rustic flavor.
- 1 packet instant yeast (2 1/4 tsp) No need to proof.
- 1 tsp salt Balances flavors.
- 1 cup warm water Should be cozy, not scalding.
- 2 tbsp olive oil Higher quality yields better taste.
Flavor Ingredients
- 4 cloves minced garlic More garlic is recommended.
- 1/4 cup fresh herbs (parsley, basil, thyme) Fresh is always best!
- 1 cup shredded cheese (mozzarella or cheddar) Mozzarella preferred for stretchiness.
Instructions
Preparation
- Combine 3 cups flour, 1 packet of instant yeast, and 1 tsp salt in a bowl.
- Add 1 cup warm water and 2 tbsp olive oil, mixing until a shaggy dough forms.
Kneading and Rising
- Knead the dough on a floured surface for about 10 minutes until smooth and elastic.
- Place the dough in a greased bowl, cover with a damp cloth, and let it rise in a warm place for 1 hour.
Shaping
- Once risen, punch down the dough and roll it out into a rectangle.
- Spread garlic, herbs, and cheese evenly over the dough.
- Roll tightly from one end and pinch the edges to seal.
Final Rise and Baking
- Place the rolled dough in a greased loaf pan and let it rise for another 30 minutes.
- Preheat the oven to 375°F (190°C) and bake for about 25–30 minutes until golden brown.
- Let it cool slightly before slicing.


