
Easy Sweet Condensed Milk Bread Recipe
Ah, the magic of baking! There’s something utterly enchanting about the way flour, yeast, and a sprinkle of sugar can transform into the softest, most comforting loaf of bread. Today, I’m inviting you to join me on a journey through this glorious Sweet Condensed Milk Bread Recipe—a recipe that not only fills your home with delightful aromas but also fills your heart with nostalgia.
My love affair with bread-making began many years ago, back when my kitchen was a chaotic whirlwind of flour dust and misadventures. I’ll never forget my very first loaf. Picture this: I was a novice, armed with a trusty recipe and a big bowl. All was well until I got a bit too eager and added twice the amount of yeast called for. Spoiler alert—there was bread explosion, and flour was everywhere! But from that moment on, I was hooked. I learned that there’s so much joy to be found in the kneading, the proofing, and the delicious anticipation of that first warm slice.
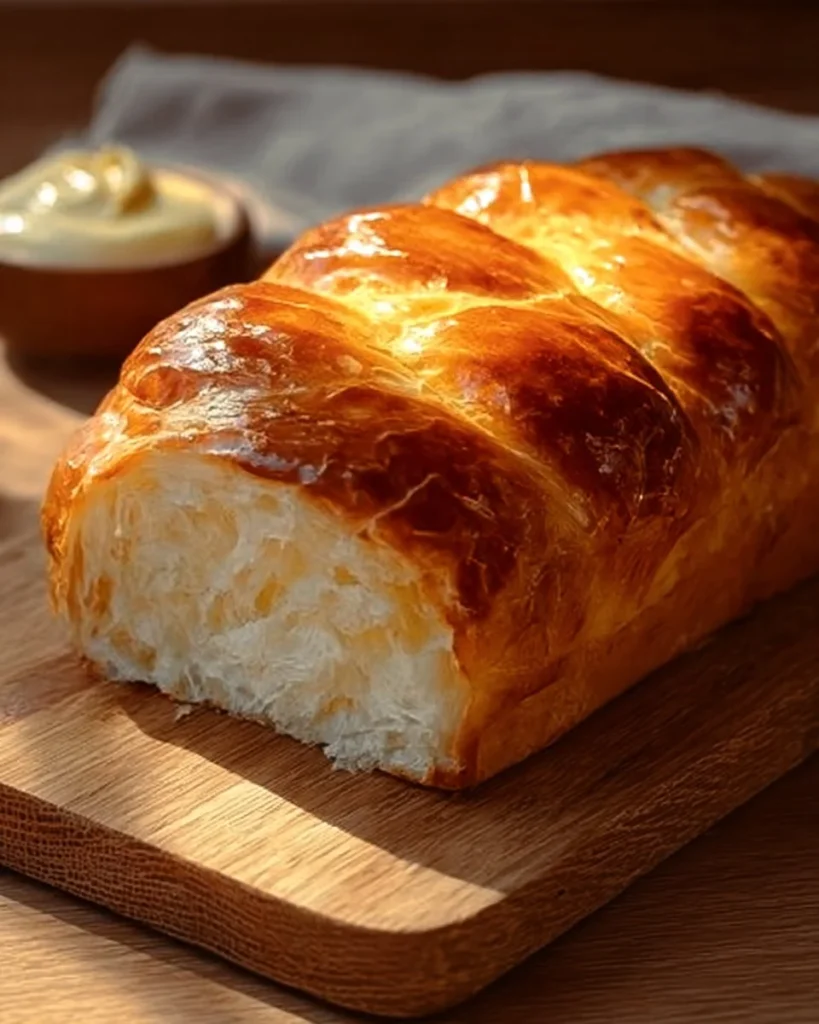
Fast forward to today, and nothing quite embodies the cozy comforts of home like this Sweet Condensed Milk Bread. It’s a recipe that brings warmth to my kitchen, and it reminds me of family gatherings, lazy weekend brunches, and everything in between. Combined with sweetened condensed milk, this bread takes on a rich flavor that’s both comforting and indulgent. Honestly, it feels like a big hug in loaf form!
So let’s roll up our sleeves and dive into this incredible recipe! I promise you’ll want to make it again and again.
Why You’ll Love This Recipe
- Easy Preparation: This bread is straightforward enough for beginners, making it a great
entrypoint into the world of baking. Nothing like impressing your friends with a homemade loaf!
-
Comfort Food: Perfect for chilly evenings, it pairs wonderfully with a hot cup of tea or coffee.
-
Versatile Use: Whether you enjoy it straight out of the oven, with some butter, or as a base for delightful sandwiches, this bread adapts to any scenario!
-
Leftover Love: It makes fantastic toast the next day—just slather on some jam or avocado, and you’re in business.
-
Picky Eater Approved: The subtle sweetness of the condensed milk is a hit with kids and adults alike!
-
Meal Prep Win: This can be made ahead of time and is an excellent addition to any healthy meal prep menu, allowing you to whip up quick family meals throughout the week.
What Makes This Recipe Special?
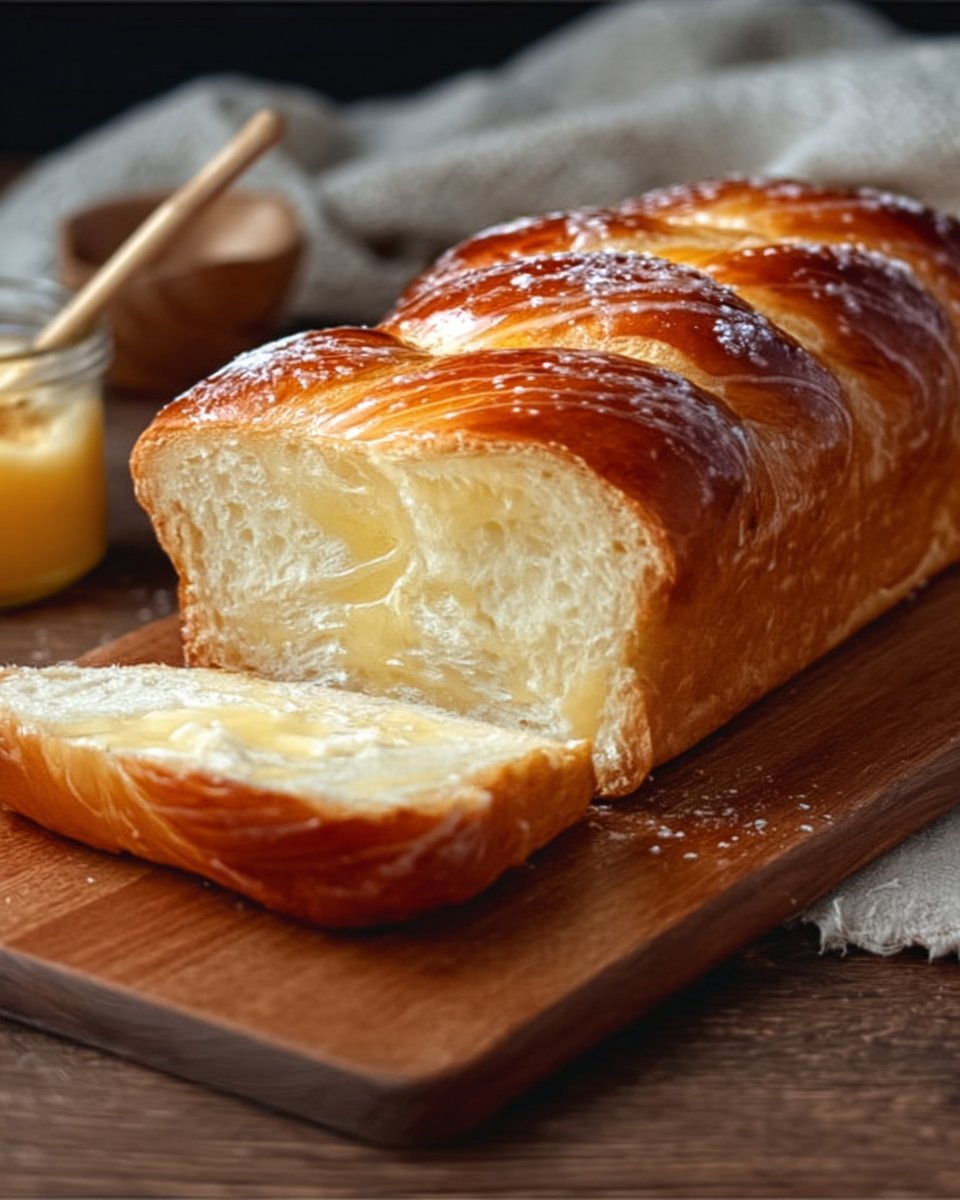
This bread shines with unique flavors that set it apart. The sweetened condensed milk infuses each bite with a creamy richness that is simply irresistible. In a world where so many breads are bland and boring, this one sings with sweetness! The texture? Oh boy—it’s soft and pillowy, perfect for tearing apart with your hands and savoring the first bite while it’s still warm. It’s a recipe that feels both indulgent and homemade, creating that perfect balance of comfort and delight.
The humble ingredients used are also part of what makes this bread so special. They are accessible and affordable, making it a budget-friendly recipe that doesn’t skimp on taste.
Ingredients
This is where the magic begins! Here’s what you’ll need:
-
3 cups all-purpose flour (or bread flour): This forms the structure of our bread. I prefer using bread flour for a chewier texture, but all-purpose works perfectly as well.
-
2 ¼ teaspoons instant yeast (1 packet): This is the magical ingredient that makes the bread rise and gives it that lovely airy quality.
-
½ teaspoon salt: A crucial component! Salt enhances the flavors and controls the yeast activity.
-
½ cup warm milk (110°F/43°C): Warm milk activates the yeast. Just be careful not to make it too hot! Oops!
-
⅓ cup sweetened condensed milk: This is the star of the show! It adds sweetness and moisture, making your bread soft and rich.
-
2 tablespoons sugar: Just a little extra sweetness to encourage the yeast to do its thing!
-
1 large egg: Adds structure and richness—perfect for a lovely crumb.
-
2 tablespoons butter, softened: This lends a rich flavor and helps keep the bread tender.
Pro Tips:
-
When measuring flour, spoon it into your measuring cup and level it off for accuracy; too much flour makes for a dense bread.
-
If you have some left over, don’t use cold milk from the fridge—nobody likes chilly yeast!
-
Make sure to check your yeast’s expiration date for the best results!
How to Make It Step-by-Step
Alright, now that you’ve gathered your ingredients, it’s time to bring this dough to life. Get ready for some floury fun!
Step 1: Activate the Yeast
In a medium bowl, combine your warm milk, sugar, and instant yeast. I always give it a little stir to mix it in, and then I let it sit for about 5 minutes. Honestly, this is like a little science experiment—watching it foam is nothing short of magical. It means the yeast is alive and ready to do its job!
Step 2: Mix the Dough
In a large bowl (or your trusty stand mixer if you have one), combine the flour and salt. Add your foamy yeast mixture, sweetened condensed milk, egg, and softened butter. Now, prepare for some mixing chaos! I usually start with a spatula to combine everything before diving in with my hands. Knead the dough for 8–10 minutes until it’s smooth and elastic. If you’re using a stand mixer, let it knead for about 5–7 minutes.
Expect a lovely dough that feels slightly tacky but not overly sticky. Kneading might get your hands a bit messy—encouraging you to embrace the chaos!
Step 3: First Rise
Once your dough is kneaded, form it into a ball and place it in a greased bowl. Cover it with a kitchen towel or plastic wrap and let it rise in a warm place for 30–45 minutes, or until it doubles in size. This is the best time to clean your kitchen and maybe pour yourself a well-deserved cup of coffee. The aroma of rising bread is seriously rewarding!
Step 4: Shape the Dough
After its glorious rise, it’s time to punch down the dough (literally!). Transfer it to a lightly floured surface and shape it into a loaf or, for fun, divide it into 8 equal pieces for cute little buns. Place shaped dough into a greased loaf pan (or your preferred baking dish), cover, and let it rest for about 15–20 minutes.
Step 5: Apply Egg Wash & Bake
Preheat your oven to 350°F (175°C). Prepare the egg wash by whisking the egg yolk with the tablespoon of milk. Brush the top of the dough with this mixture—it gives a beautiful golden sheen when baked. Pop the loaf in the oven and bake for 25–30 minutes, or until it’s golden brown. You’ll know it’s done when you gently tap the bottom and hear that hollow sound.
Step 6: Cool & Serve
Once baked, allow it to cool in the pan for about 10 minutes before transferring to a wire rack. The best part? Slicing into it while it’s still warm and slathering it with butter. Oh, pure bliss!
Tips for Best Results
-
Kneading Techniques: If kneading by hand, really lean into it. Use your body weight to help work the dough. Don’t be shy!
-
Temperature Matters: Keep your kitchen warm; if you notice your dough isn’t rising well, try placing it in a slightly warm oven (turned off) to help it along.
-
Don’t rush: Let the dough rise fully for the best texture. Patience is key!
Ingredient Substitutions & Variations
For those looking to switch things up, here are some easy swaps:
-
Flour Type: Substitute half of your flour with whole wheat flour for a nuttier flavor and added nutrition.
-
Dairy-Free: Swap the milk for almond milk or oat milk, and use a vegan buttery spread instead of regular butter for a plant-based twist.
-
Add-Ins: Consider adding chocolate chips or dried fruit for a sweet twist—talk about an upgrade! You could also mix in spices like cinnamon for extra flavor.
Serving Suggestions
This Sweet Condensed Milk Bread is fabulous on its own, but let’s be real—what’s bread without some delicious accompaniments?
Enjoy it fresh with a side of homemade jam or honey to sweeten the deal. If you’re feeling adventurous, pair it with some fluffy scrambled eggs for a cozy brunch vibe. And for dessert? A warm slice drizzled with a touch of chocolate sauce is a blissful treat! Honestly, this and a rom-com is absolute perfection.
How to Store and Reheat Leftovers
If by some miracle you have any leftovers, store your bread in an airtight container at room temperature for up to three days. Personally, I find that the bread tastes even better the next day when toasted! Just slice and toss it in the toaster or on a skillet with a pat of butter until golden brown.
Don’t freeze it unless you must; the texture can change upon reheating. But if you do decide to freeze, slice it first for easy access later—just place it in a zip bag within a week of baking.
Make-Ahead and Freezer Tips
Feel free to make the dough ahead of time! After your first rise, you can punch it down and store it in the fridge for up to a day. Just make sure to let it come to room temperature before baking. As for the freezer, you can freeze baked bread, but it’s best consumed within a month for optimal flavor and quality.
Common Mistakes to Avoid
-
Over-kneading: It’s easy to go overboard. If your dough feels tough or rubbery, you may have worked it too much.
-
Not measuring accurately: Baking is a science! Be precise with your measurements to avoid disappointment.
-
Skipping the egg wash: It’s not just for looks! The egg wash adds flavor and moisture—don’t skip it unless you have to!
Frequently Asked Questions (FAQ)
Can I use active dry yeast instead of instant?
Yes! Just activate it in the warm milk with sugar as described, and proceed with the recipe.
Can I double the recipe?
Absolutely! Just be sure to use a larger bowl for mixing and bake in two separate pans for even baking.
What should I do if my dough doesn’t rise?
Ensure your yeast is fresh and your warm milk isn’t too hot. If you’re in a cold kitchen, try moving the dough to a warmer spot.
Cooking Tools You’ll Need
- Mixing bowls
- Measuring cups and spoons
- Stand mixer (optional but helpful)
- Wooden spoon or spatula
- Loaf pan
- Kitchen towel
Final Thoughts
Baking this Sweet Condensed Milk Bread has become a cherished ritual in my home. It’s a reminder that no matter how chaotic life gets, a warm loaf of bread fresh out of the oven can bring comfort in the simplest ways. I invite you to embrace the process, revel in your kitchen chaos, and create sweet memories along the way.
And hey, once you’ve tried this recipe, please share your experiences! I’d love to see your interpretations of this warm, cozy bread.
If you enjoyed this recipe, don’t forget to save it on Pinterest or share it with a friend! Happy baking!

Sweet Condensed Milk Bread
Ingredients
Main Ingredients
- 3 cups all-purpose flour (or bread flour) Bread flour gives a chewier texture.
- 2 ¼ teaspoons instant yeast 1 packet
- ½ teaspoon salt Enhances flavors and controls yeast activity.
- ½ cup warm milk 110°F/43°C, to activate yeast.
- ⅓ cup sweetened condensed milk Main ingredient for sweetness and moisture.
- 2 tablespoons sugar Encourages yeast action.
- 1 large egg Adds structure and richness.
- 2 tablespoons butter, softened Helps keep the bread tender.
Instructions
Preparation
- In a medium bowl, combine warm milk, sugar, and instant yeast. Stir and let sit for about 5 minutes until foamy.
- In a large bowl, combine flour and salt. Add the yeast mixture, sweetened condensed milk, egg, and softened butter.
- Knead the dough for 8–10 minutes until smooth and elastic, or 5–7 minutes if using a stand mixer.
- Form the dough into a ball and place in a greased bowl. Cover and let rise in a warm place for 30–45 minutes, or until doubled in size.
- Punch down the dough and shape it into a loaf or divide into pieces for buns. Place in a greased pan and let rest for 15–20 minutes.
- Preheat oven to 350°F (175°C). Prepare egg wash by whisking egg yolk with 1 tablespoon milk and brush over the dough.
- Bake for 25–30 minutes until golden brown and sounds hollow when tapped. Allow to cool in the pan for 10 minutes before transferring to a wire rack.


