

The Best Easy Butterfinger Balls Recipe
Have you ever had one of those moments in the kitchen where everything just clicks? Maybe it’s the aroma of melted chocolate wafting through the air or the sound of laughter while friends gather around to help you whip up something sweet. For me, that moment came the day I discovered Butterfinger Balls. Honestly, every time I make these little bites of joy, I’m taken back to my childhood kitchen where my mom would make treats like these for holiday gatherings, and we’d sneak one (or five) before dinnertime.
The smell of peanut butter and chocolate is like a warm hug, bringing to mind cozy autumn evenings spent with family, bright summer afternoons at picnics, and every happy memory in between. It’s these feelings that make you understand why recipes like this matter—it’s more than food; it’s nostalgia on a plate. Oops, did I say plate? I meant a handful!
But let’s be real for a second: the first time I attempted making these Butterfinger Balls, it was a bit of a disaster. Imagine a scene where chocolate is melting everywhere, sticky fingers, and peanut butter bliss turning chaotic. You would’ve laughed at the sticky mess I left on every surface of my kitchen. But in the end, the taste has always been worth the chaos. Let me take you on this delicious ride through how I finally got it right!
Why You’ll Love This Recipe
- Ridiculously Easy: If you’re like me, sometimes you just want something that doesn’t require advanced culinary skills. This recipe requires no baking, minimal tools, and honestly, it can be done in under an hour (minus the freeze time, of course).
- Snack Attack Approved: Got kids or picky eaters? They will devour these! Trust me, just a bite will make anyone a fan. In fact, I dare you to leave these around without a family member sneaking in for a taste.
- Perfect for Prep Ahead: Imagine having a sweet treat ready for a surprise guest or a treat for your kids coming home from school. Just pop these in the freezer and pull them out at a moment’s notice!
- Tailor to Your Taste: Don’t have Butterfinger bars handy? Swap them out for Reese’s or any other candy you adore. Variations are welcome!
- Leftover Magic: These keep well in the fridge (if they last that long). You can have that sweet fix whenever the craving hits without the guilt of overindulging.
- Feels Like a Hug in a Bowl: There’s something incredibly comforting about a rich and creamy ball of peanut butter wrapped in chocolate. It’s a cozy treat that brings a smile every single time.
What Makes This Recipe Special?
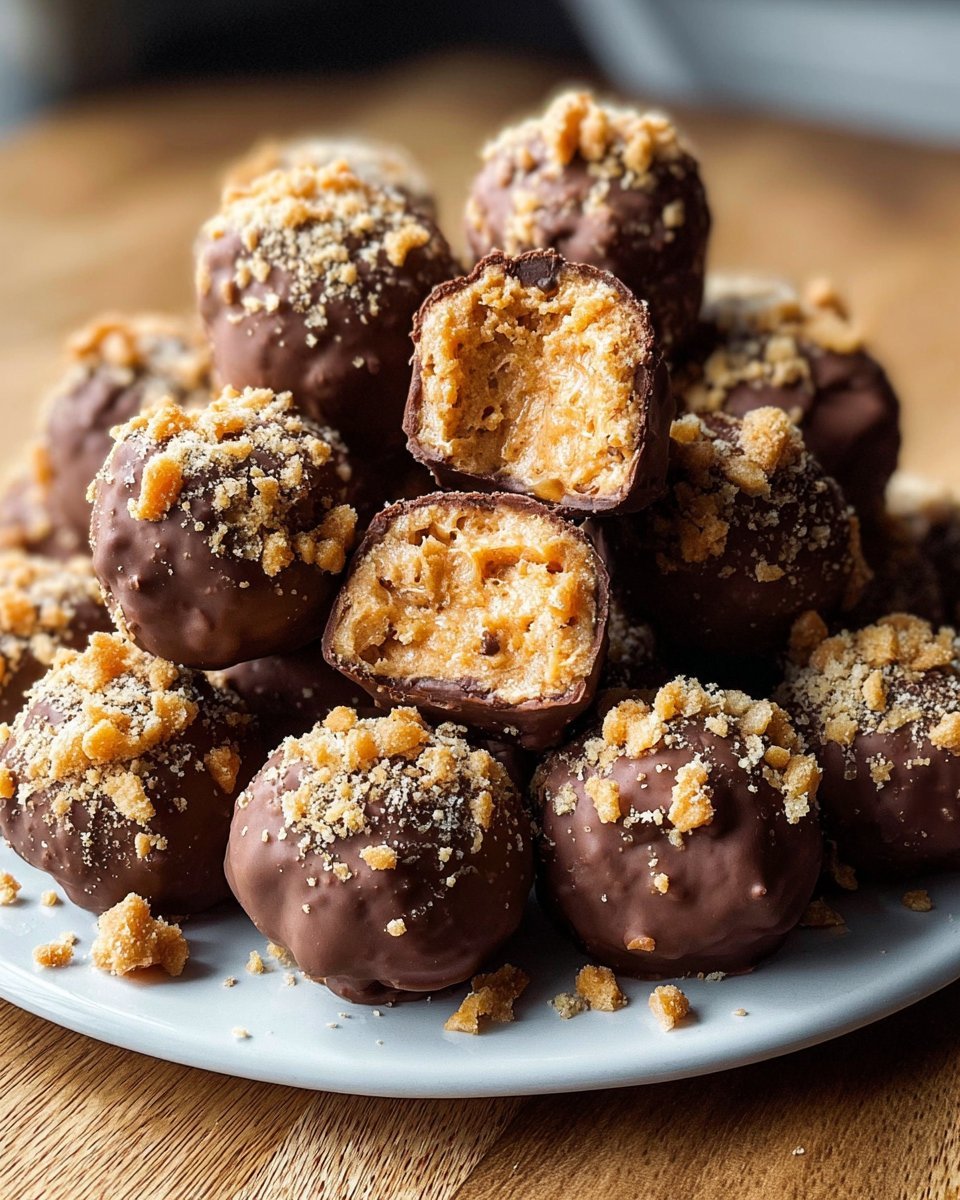
What I adore about these Butterfinger Balls is the contrasting textures. You’ve got the creamy smooth peanut butter, the crunchy graham cracker crumbs, and the delightful surprise of crushed Butterfinger bars. To this day, I can’t help but smile when I dive into a batch—it’s like a childhood memory encapsulated in chocolate.
And the best part? You get to control your chocolate. Want a full coating? Go for it. Prefer a drizzle? You do you! This recipe lets you infuse your own personality into every bite. When you can get creative in the kitchen, it transforms the mundane into something magical.
Ingredients
- 1 cup creamy peanut butter: The star of the show! It adds richness and creaminess that brings all the components together. I usually go for a good-quality brand, like Jif or Skippy, for that classic taste.
- 4 tablespoons softened butter: This helps with the creaminess. Don’t forget to let it sit out long enough to soften—it makes blending so much easier! (Trust me, I learned the hard way when I threw in hard butter and ended up with little solid butter nuggets. Oops!)
- 1 cup powdered sugar: This brings the sweetness and smooth consistency without being overly sugary. No one wants a toothache from a treat, right?
- ¾ cup graham cracker crumbs: For that delightful crunch! It adds a nice texture reminiscent of cheesecake.
- ½ cup crushed Butterfinger bars: The best part! These add a fantastic flavor and crunch. Pro-tip: sometimes, hitting these with a kitchen mallet can be quite therapeutic—just don’t go too wild!
- 8 ounces chocolate bark or chocolate chips: Perfect for coating your balls! Chocolate bark melts easily and gives a good sheen. But chocolate chips? They’re great too. Just avoid the baking chips—they are less sweet.
- 1 teaspoon vanilla extract: A must-have in my household! It enhances the flavor and gives it that warm aroma that pairs so perfectly with chocolate and peanut butter.
With these few simple ingredients, you’re not just creating a dessert; you’re crafting memories sweet enough to share.
How to Make It Step-by-Step
Alright, let’s roll up those sleeves and dive in! This is how I magically make these Butterfinger Balls one sticky mess at a time.
-
Gather your ingredients: Seriously, this is the best part. Grab everything and bring it to the counter. Having everything together makes you feel like a pro!
-
Meet the Peanut Butter: In a mixing bowl, combine the creamy peanut butter and softened butter. Using an electric mixer (or a spatula if you’re feeling adventurous), blend them until they’re super smooth. The texture should be almost comforting, like a smooth hug for your taste buds.
-
Vanilla Time: Now, toss in that lovely vanilla extract. The smell? Yup, it’s that great. Mix it well—it’s important to have all the flavors intimately acquainted before moving to the next step!
-
Sugar Rush: Here come the powdered sugar—the sweetness factor! Gradually add it into the mixture while mixing on low speed. This is where I made my first mistake the first time I made these; I went too fast and ended up wearing half the powdered sugar! So, take your time, mix slowly, and watch your bowl transform. It should start to look like a creamy frosting.
-
Add in those Crunchy Bits: It’s graham cracker time! Fold in ¾ cup of graham cracker crumbs and your crushed Butterfinger bars. I find it easier if you use a spatula and try to preserve some of the crunch—don’t overmix. The texture should be chunky and inviting.
-
Ball time: Now comes the fun part! Scoop about 1 to 1½ tablespoons of the mixture and roll it into balls. Place them on a parchment-lined cookie sheet. You’ll realize quickly that the mixture is so tasty that you may have to restrain yourself from eating it all right then and there.
-
Freeze those Balls: Here’s where patience comes in. Pop your cookie sheet in the freezer for about 30 minutes. We want these little guys to firm up nicely for the big dunk into chocolate later.
-
Melt the Chocolate: While your balls are chilling, it’s chocolate time! Melt your chocolate bark or chips in a microwave-safe bowl at 50% power, stirring frequently. Honestly? This is the most dangerous step! The smell of melted chocolate is heavenly—try not to get too distracted (words of experience, friends).
-
Dipping Day: Now, behold your chilled balls! Take each one and dip it into the molten chocolate. If it doesn’t come out perfectly coated, it’s okay—this isn’t a beauty pageant! Just give it a lovely coat. If you want to get fancy, sprinkle some extra crushed Butterfinger on top before the chocolate sets.
-
Let it Sit: Allow the chocolate to set. Patience is key, but I’ll be honest—I rarely make it through this entire stage without nicking a ball as I "taste test."
And there you have it—a deliciously chaotic adventure unfolds in the kitchen! The process is a bit messy, but isn’t that how the best memories are made?
Tips for Best Results
- Room Temperature Ingredients: Make sure your butter and peanut butter are at room temperature. It makes blending so much easier!
- Don’t Rush the Freeze: If the balls are too warm when you dip them, the chocolate won’t set properly, and nobody wants a gooey disaster!
- Use Quality Chocolate: A good quality chocolate will elevate these treats to a whole new level. I typically lean towards Ghirardelli or Baker’s chocolates.
Ingredient Substitutions & Variations
- Nut Butter Swap: Not a peanut butter fan? You could try almond butter or even sunflower seed butter for a nut-free version! Just keep in mind, different nut butter could alter the taste and texture a little.
- Chocolate Variations: Experimenting with white chocolate or dark chocolate can add a unique twist. Each brings forth a different taste profile.
- Flavor Up: Want to spice things up? A dash of sea salt over the chocolate before it sets adds a lovely touch. Or try different crushed candies aside from Butterfinger, like Heath bars or chopped pretzels for a salty-sweet combo.
Serving Suggestions
Pair these delightful Butterfinger Balls with a glass of cold milk, or if you’re like me and have a soft spot for coffee, they are divine with a warm cup of joe. Honestly, these little balls of joy are great for any occasion.
Imagine cozy fall nights watching a romantic comedy, a platter of these divine chocolate-covered treats beside you. It’s pure perfection.
How to Store and Reheat Leftovers
These Butterfinger Balls are best stored in an airtight container in the refrigerator. They tend to hold their shape rather well. If you have any leftovers (I doubt it, given how delicious these are), simply enjoy them chilled—which makes for a nutty and crunchy treat or let them sit at room temperature for a bit for a softer bite. Either way, they’ll still pack a punch!
Make-Ahead and Freezer Tips
Did you know that you can freeze these Butterfinger Balls too? Yep! Once they’re completely set, place them in a freezer-safe container between layers of parchment paper. Voila! You’ll have sweet treats ready to go whenever you desire. Just allow them to thaw for about 10-15 minutes before enjoying them.
Common Mistakes to Avoid
- Not Softening the Butter: Throwing in cold butter will lead to little blobs of butter in your finished product. Yikes.
- Overmixing: Being too eager can lead to a paste rather than a delightful treat. Gently fold when incorporating graham crackers and candy chunks.
- Not Allowing the Balls to Freeze: Trust me, not freezing the balls will lead to hot chocolate mess during dipping, which is why you see so many of them, sans chocolate!
Frequently Asked Questions (FAQ)
-
Can I use crunchy peanut butter instead of creamy?
Absolutely! But be prepared for a bit of a texture difference. Some people prefer the added crunch, while others like the smooth bite. -
How long do these Butterfinger Balls last?
They can last up to a week in the fridge. However, I wouldn’t count on them sticking around that long! -
What can I use instead of chocolate bark?
Chocolate chips work great! Just be cautious about using baking chips, as they can lack sweetness. -
Are Butterfinger Balls gluten-free?
Yes, with gluten-free graham cracker crumbs, you can make this a gluten-free treat! -
Can I add more crushed candy into the mixture?
You can! Just be mindful of balance; too many add-ins can make rolling difficult.
Cooking Tools You’ll Need
- Mixing Bowl: A decent-sized one to blend all your ingredients together without making a mess.
- Electric Mixer: Perfect for blending the peanut butter and butter smoothly.
- Spoon or Cookie Scoop: The ideal tool for portioning those Butterfinger Ball delights!
- Parchment Paper: A must-have for easy cleanup and perfect for rolling these little guys!
Final Thoughts
Butterfinger Balls are more than just a recipe for me; it’s about channeling warmth, memories, and a bit of creativity. I love that what starts as a simple mixture transforms into rich little nuggets of joy. So, the next time you want to whip up something quick, fun, and irresistibly delicious, give this a go.
If you try these Butterfinger Balls, I’d love to hear how it went! Did you make any fun variations? Did you eat the mixture before it made it to the freezer? I’ve been there too!
If you enjoyed this recipe, don’t forget to save it on Pinterest or share it with a friend!

Butterfinger Balls
Ingredients
Main Ingredients
- 1 cup creamy peanut butter Use a good-quality brand like Jif or Skippy.
- 4 tablespoons softened butter Make sure it's at room temperature.
- 1 cup powdered sugar Adds sweetness and smooth consistency.
- ¾ cup graham cracker crumbs Provides delightful crunch.
- ½ cup crushed Butterfinger bars Adds fantastic flavor and crunch.
- 8 ounces chocolate bark or chocolate chips For coating; avoid baking chips.
- 1 teaspoon vanilla extract Enhances flavor and aroma.
Instructions
Preparation
- Gather all your ingredients in one place.
- Combine creamy peanut butter and softened butter in a mixing bowl. Mix until super smooth.
- Add in vanilla extract and mix well.
- Gradually add powdered sugar while mixing on low speed to avoid a mess.
- Fold in graham cracker crumbs and crushed Butterfinger bars. Keep some crunch.
- Scoop about 1 to 1½ tablespoons of the mixture and roll into balls. Place on a parchment-lined cookie sheet.
- Freeze for about 30 minutes to firm up.
Coating
- Melt chocolate bark or chips in a microwave-safe bowl at 50% power, stirring frequently.
- Dip each chilled ball into the melted chocolate, ensuring they are well-coated.
- Allow chocolate to set and enjoy!


