
Introduction
The first time I cooked rice in the Instant Pot, I hovered like a helicopter parent. To be real, I didn’t trust a countertop spaceship with my precious carbs. I’ve scorched rice on the stove, undercooked it into crunchy confetti, and—oops—once forgot the salt and wondered why dinner tasted like nothing. Then one weeknight—between a school pickup, a Zoom meeting, and a dying phone battery—I threw rinsed rice and water into the pot, pressed a button, and walked away. Ten minutes later the kitchen smelled warm and cozy, like steam and sunshine. I cracked the lid and there it was: perfectly fluffy rice. No watching, no boiling over, no drama.
This method has quickly become my weeknight safety net—the quiet hero in a bowl. It’s the base that makes easy weeknight dinners feel actually easy, the starch that turns leftovers into quick family meals, and the soothing, steamy side that qualifies as healthy comfort food without trying too hard. When meal prep is the mood (hello Sunday playlists and labeled containers), a batch of Instant Pot rice sets me up for best meal prep plans without a spreadsheet. And if you’re someone who loves pairing carbs with high protein meals—grilled chicken, tofu, beans—this rice is your stress-free MVP.
Is rice keto? Nope. But if you’re navigating a household where someone’s following a keto meal plan and someone else craves rice like oxygen, this method gives you a reliable base while the cauliflower crowd does their thing. It’s also budget-wise (hi, budget-friendly recipes) and generous. One cup of dry rice yields a small mountain—enough to portion into meal prep microwave lunches, tuck beside a stir-fry, or ladle under a saucy curry when the day is sprinting.
What makes it unique? Consistency. The Instant Pot delivers repeatable results. And honestly, that reliability feels like a hug in a bowl. Steam clouds, soft grains, minimal cleanup, and the quiet triumph of food that just… works.
Why You’ll Love This Recipe
- Truly hands-off. Set it, walk away, and come back to fluffy rice.
- Consistent results. No more gummy or scorched pots—just tender grains.
- Fast enough for a Tuesday, easy enough for anyone.
- Meal-prep friendly for low calorie chicken meal prep or bean bowls.
- Works with white, jasmine, basmati, or brown rice—your call.
- Comfort factor: warm, steamy, and endlessly versatile; it really does feel like a hug in a bowl.
What Makes This Recipe Special?
Instant Pot rice shines because it’s repeatable. Once you learn your pot’s sweet spot, you’ll get the same texture every time. The 1:1 ratio for white varieties keeps things simple, and the 10-minute natural release lets the grains finish gently—like a tiny spa for rice. There’s also room for personality: a splash of neutral oil for glossy grains, a bay leaf for aroma, or swapping water for halal chicken broth when you want richer flavor. And unlike stovetop methods, there’s no peeking and no second-guessing. You press start and let the magic happen while you pan-sear chicken, toss a salad, or, frankly, do nothing at all.
Ingredients
- 1 cup long-grain white rice (or jasmine or basmati)
- 1 cup water (or halal chicken/vegetable broth)
- ½ teaspoon salt (optional)
- 1 teaspoon neutral oil or butter (optional)
Why these ingredients work:
Long-grain varieties (like jasmine and basmati) stay separate and fluffy. The 1:1 liquid ratio keeps the math easy and the texture consistent, while the 10-minute natural release protects against hard centers. Salt and oil are optional, but I love a tiny bit of fat for that glossy finish and a pinch of salt to wake up the flavor. If you’re using broth, choose halal-certified to keep everything fully compliant—no wine, no questionable additives.
Tips and brand preferences:
Use a fine mesh strainer for rinsing so the grains don’t slip away. I like a low-sodium broth so I control salt later. For basmati, I’ll often add a tiny splash of oil (½ teaspoon) to keep the long grains distinct. For jasmine, I keep it simple—just water and a pinch of salt—so its natural fragrance shines.
Warnings (learned the hard way):
Don’t skip the rinse. The one time I did, the rice clumped like we were building a tiny rice igloo. Also, don’t stir after adding the water; we’re not making risotto. And never force a quick release before the 10-minute mark unless you enjoy crunchy centers.
How to Make It Step-by-Step
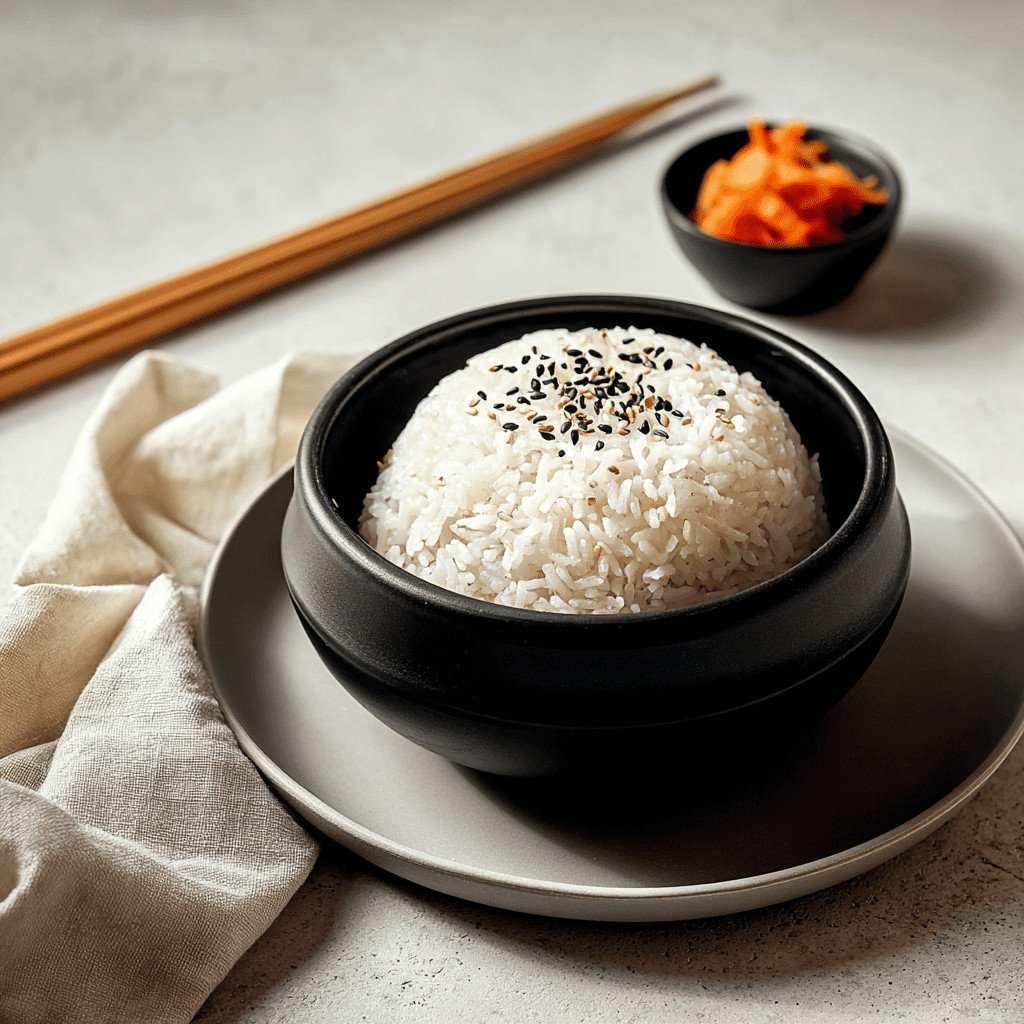
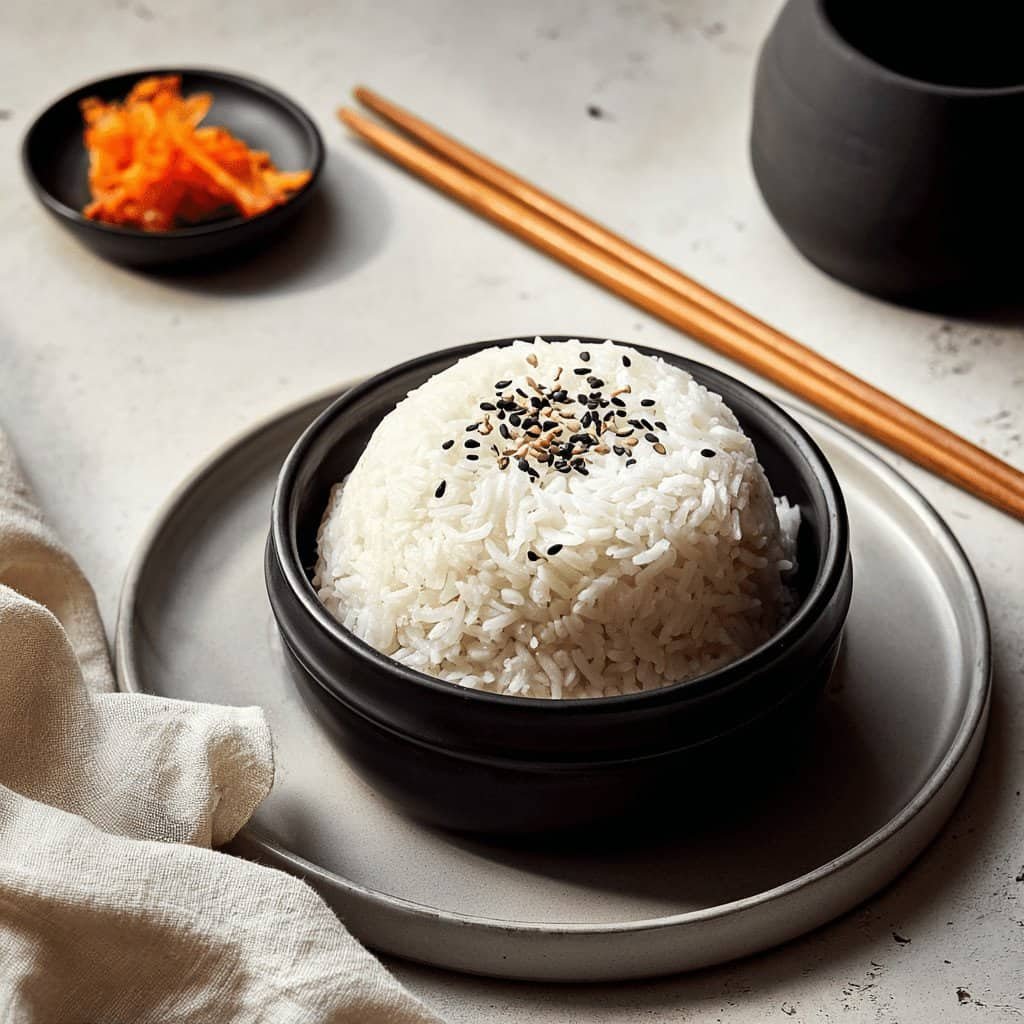
- Rinse until the water runs clear.
I know, rinsing is not glamorous, but it’s everything. Place the rice in a fine mesh strainer and run cold water over it, swishing with your fingers. At first the water will look milky; keep going until it’s mostly clear. You’ll feel the grains go from squeaky to slick—like tiny pebbles. That’s your sign. - Load the pot like a pro.
Into the Instant Pot bowl, add the rinsed rice, then pour in 1 cup water (or broth). If using salt and oil/butter, add them now. Give the pot a gentle shimmy (not a stir) so all the grains are submerged and level. This tiny move helps even cooking. - Lid, seal, and set the pressure.
Close the lid and set the valve to “Sealing.” Use “Pressure Cook” (or “Manual”) on High.- White, jasmine, basmati: 4 minutes
- Brown rice: 22–24 minutes (I like 23 for a tender-chewy bite)
- Let the pot do its thing.
When you hit Start, the pot will preheat. You’ll hear a soft hum and then a chime as pressure builds. No peeking. No lifting the lid “just to check.” This is the hands-off part that feels luxurious. - Natural release for 10 minutes.
When the timer beeps, don’t touch anything. The pressure drops gradually, and inside the pot the rice finishes steaming and relaxing. If you release pressure too soon—been there—the center of each grain can feel a tad firm. Set a timer for 10 minutes and exhale. - Vent the rest and fluff.
After 10 minutes, carefully switch the valve to “Venting.” Steam will whoosh out (I always angle the pot away from cabinets). Open the lid and inhale—warm, starchy, comforting. The surface should look like a soft quilt. Use a fork or rice paddle to fluff, letting wisps of steam escape and separate the grains. Listen for that gentle whisper of steam and feel the grains loosen as you lift. - Taste and season.
Add another pinch of salt if needed or a drizzle of oil for sheen. If you’re pairing it with saucy mains, you may want it lightly seasoned so the sauce can sing.
If the pot says “burn”—what now?
You likely didn’t add enough liquid, or your sealing ring isn’t seated properly. Hit cancel, release pressure if it built, add 1–2 tablespoons extra water, and try again. (This is rare with plain rice, but it can happen if you sautéed earlier and didn’t deglaze. A quick scrape with a wooden spoon before pressure helps.)
The sensory checklist:
The cooked rice should feel springy, not mushy. The smell is gently sweet and steamy. Each grain should be tender with the tiniest pleasant bite. When you fluff, you’ll see soft clouds of steam and hear a faint, satisfying rustle.
Tips for Best Results
- Rinse, rinse, rinse. It prevents gumminess and gives you restaurant-style texture.
- Respect the natural release. Those 10 minutes turn good rice into great rice.
- Use the right ratio. 1:1 for white/jasmine/basmati; brown rice prefers a little extra liquid (1¼ cups per cup rice).
- Check your sealing ring. A misaligned ring can cause undercooked rice or “burn” warnings.
- Season strategically. If your main dish is salty (soy sauce, curry pastes), keep the rice lightly seasoned.
- Batch it. Make a double or triple batch for good meal prep plans and stash in the fridge or freezer.
Ingredient Substitutions & Variations
- Liquid swap: Use halal chicken or vegetable broth instead of water for savory depth.
- Coconut rice: Replace half (or all) of the water with coconut milk and add a pinch of salt for a lush side that loves mango salsa or grilled shrimp.
- Garlic or herb rice: Add 1 minced garlic clove before cooking; stir in chopped cilantro, dill, or parsley after.
- Golden rice: A pinch of turmeric or saffron threads (bloomed in warm water) adds color and aroma.
- Pilaf-ish twist: Stir in thawed peas and a squeeze of lemon after cooking.
- Lower-carb swap: If someone in your household is on a high protein keto meal plan or protein meal plan, make cauliflower rice on the side—no shame in a two-carb household.
Serving Suggestions
This rice is the foundation for bowls and plates that look fancy with almost no extra work. Pair it with grilled chicken for high protein pre made meals, spoon saucy chickpeas over it for a plant-forward dinner, or make a speedy fried rice with leftover vegetables and eggs. If you lean on ready made protein meals on a busy night, this rice turns them into a real dinner fast—fridge to table in minutes.
For cozy nights, I love it under a slow-simmered lentil curry, next to roasted salmon, or piled into burrito bowls with black beans, pico, and avocado. It also plays well with takeout—hello, best high protein frozen meals upgrades—because warm, fluffy rice makes everything feel home-cooked.
Pairing Ideas (Drinks, Sides, etc.)
- Drinks: Sparkling water with lime, iced green tea, or a creamy mango lassi (non-alcoholic) for something sweet and cooling.
- Veg sides: Roasted broccoli, garlicky green beans, sesame snap peas, or a cucumber-tomato salad with lemon.
- Proteins: Halal rotisserie chicken, baked tofu with soy-ginger glaze, sheet-pan salmon, or turkey meatballs. For a brunchy twist (yes, rice for breakfast!), top with a jammy egg and halal turkey sausage—your nod to a full English breakfast without the pork.
- Sauces: Tahini drizzle, chimichurri, or a quick yogurt-cucumber sauce for bright contrast.
How to Store and Reheat Leftovers
- Fridge: Cool rice quickly (spread on a tray), then pack into airtight containers. Keeps up to 5 days.
- Freezer: Portion into flat freezer bags or containers for up to 3 months. Flattening helps it thaw fast and stacks neatly for best meals to prep.
- Microwave: Splash with water, cover, and heat in short bursts, fluffing in between—perfect for meal prep microwave lunches.
- Stovetop: Add a tablespoon of water per cup of rice, cover, and warm over low heat, stirring occasionally.
Avoid leaving rice at room temperature too long; cool it quickly to keep it food-safe and fresh-tasting.
Make-Ahead and Freezer Tips
Make a double batch on Sunday and portion it into individual servings. Label with date and grain type (white, jasmine, basmati, brown) so you can grab what you need. Frozen rice reheats beautifully—microwave straight from frozen with a splash of water, covered, for an easy add-on to high macro meals or low calorie high nutrition meals.
Common Mistakes to Avoid
- Skipping the rinse. Leads to clumps and sadness—just rinse.
- Releasing pressure too fast. The 10-minute rest is non-negotiable for tenderness.
- Not enough liquid. Measure carefully; the Instant Pot wants exactness.
- Stirring before cooking. Resist. Level the grains with a gentle shake instead.
- Forgetting to deglaze after sautéing. If you browned aromatics first, scrape the bottom so nothing triggers a “burn.”
Frequently Asked Questions (FAQ)
Can I double or triple the batch?
Yes—keep the 1:1 ratio for white varieties. The cook time stays the same; the pot just takes longer to come to pressure.
Do I have to rinse the rice?
Highly recommended. Rinsing removes surface starch and gives you fluffy, separate grains.
Which Instant Pot setting should I use?
“Pressure Cook” or “Manual” on High. The “Rice” button often defaults to low pressure and is best for certain white rices; manual gives you more control.
Does this work for brown rice?
Absolutely. Cook 22–24 minutes on High Pressure with a 10-minute natural release and plan on 1¼ cups liquid per 1 cup rice for a tender-chewy texture.
How do I prevent sticking?
Add a teaspoon of oil or butter and don’t skimp on rinsing. If you sautéed earlier, deglaze with a splash of water and scrape the bottom clean before pressure cooking.
Can I use broth instead of water?
Yes, and it’s delicious. Choose halal-certified chicken or vegetable broth for full compliance and extra flavor.
Is Instant Pot rice better than stovetop?
For me, yes. It’s faster, foolproof, and wonderfully hands-off—ideal for best dinner prep meals when life is extra.
Cooking Tools You’ll Need
- Instant Pot (6-quart or similar), with sealing ring in good condition
- Measuring cup
- Fine mesh strainer
- Rice paddle or fork for fluffing
- Airtight containers for storage and premade lunch meals
Final Thoughts
There’s a special kind of relief in a recipe that just works. Instant Pot rice gives me that delicious, dependable win I can build a whole week around. Some nights it’s the cozy side under a saucy stew; other nights it’s the quick base that turns leftovers into a bowl I’m genuinely excited to eat. And on the busiest nights, it stretches store-bought mains into legit ready meals for 2 without breaking the bank or my brain.
If you’re building a protein eating plan with lots of grilled chicken, tofu, or beans, this rice slides right in alongside your high protein high carb low fat meals—or even those high carb high protein low fat meals you take to the gym between sets. And if convenience is king, keep portions in the freezer to pair with the best high protein ready meals or high protein microwave meals when you need dinner yesterday. For couples, it fits into healthy meal plans for two beautifully (and yes, it plays nicely with meals for 2 delivered—just reheat and plate). If you ever brush up against the world of low fat meal delivery or hello fresh low calorie menu style cooking, you’ll still want this simple pot of goodness on standby.
Rice doesn’t need to be fancy to be perfect. It just needs to be fluffy, warm, and waiting. That’s what this method gives you—every single time.
If you enjoyed this recipe, don’t forget to save it on Pinterest or share it with a friend!

Instant Pot Rice
Ingredients
- 1 cup long-grain white rice (jasmine or basmati also fine)
- 1 cup water (or halal chicken/vegetable broth)
- 1/2 teaspoon salt (optional)
- 1 teaspoon neutral oil or butter (optional)
Instructions
- Rinse the rice in a fine mesh strainer under cold water until the water runs mostly clear; drain well.
- Add rinsed rice, water (or broth), salt, and oil or butter (if using) to the Instant Pot. Gently shake the pot to level the grains.
- Lock the lid and set the valve to Sealing. Select Pressure Cook (Manual) on High for 4 minutes for white, jasmine, or basmati rice.
- When the cook time ends, allow a natural pressure release for 10 minutes, then carefully switch the valve to Venting to release remaining steam.
- Open the lid, fluff the rice with a fork or rice paddle, taste, and adjust seasoning as needed. Serve warm.
- For brown rice variation: use 1 cup brown rice to 1 1/4 cups water or broth; cook 22–24 minutes on High, then natural release 10 minutes.


